In this guide5 sections
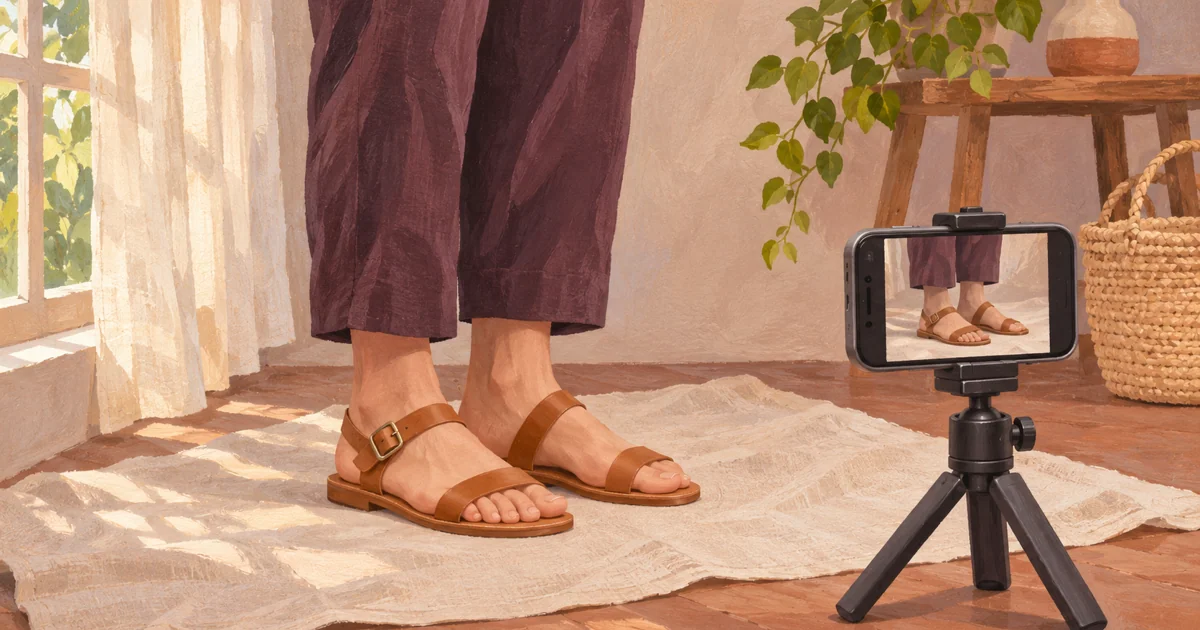
To take feet pics with your phone, sit beside a window, turn off the flash and start with the main rear camera at 1×. Rest the phone on a firm support and use the timer. Take one overhead photo, one from the side and one detail shot before changing your setup.
A tan sandal and a plain piece of cloth are enough for the whole exercise. Use your own photos for your listing. The AI-generated illustrations in this guide show where to put the phone and how to frame each shot.
Set up the phone so you can shoot by yourself
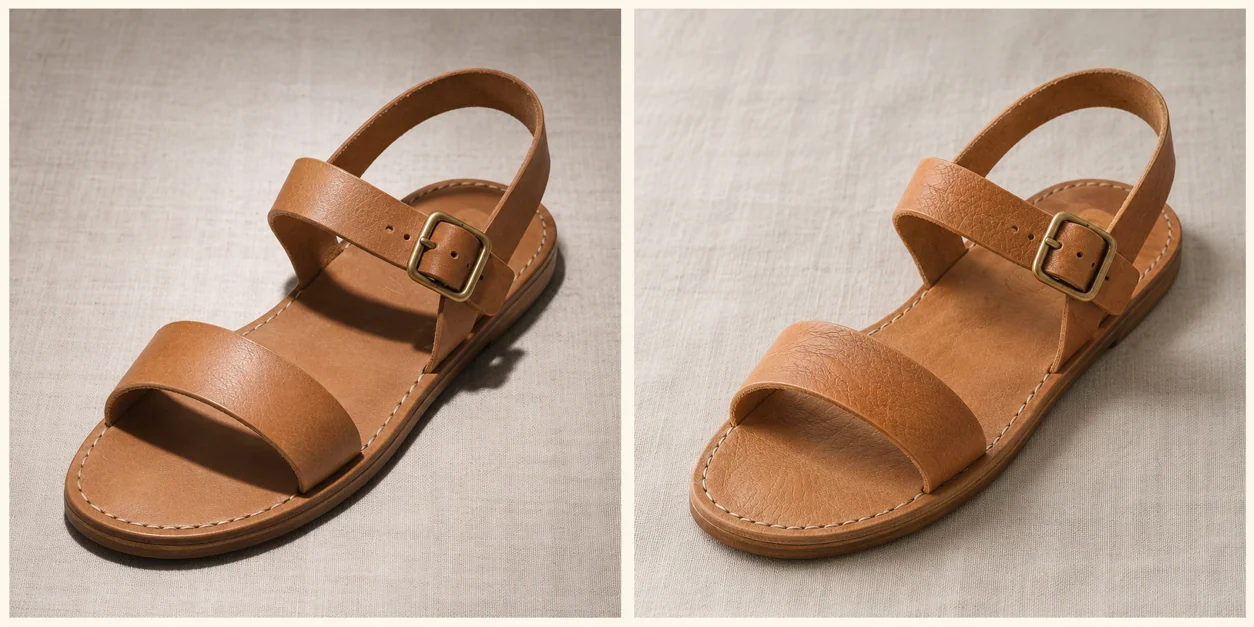
Lay a towel or sheet beside a window that gets indirect daylight. Sit on a chair with the window to one side. Before taking off your sandals, put one where your foot will be and use its buckle to check focus. A clear buckle and a blurry background are fine. A sharp rug and a fuzzy buckle mean the phone focused behind your subject.
For a low angle, use a small tripod or lean the phone against a sturdy object on the floor. Turn on a timer long enough to get seated comfortably. For an overhead view, stay seated and hold the phone above your knees with both hands. Leave a little room around the toes and heels so you can straighten the frame later.
What difference does window light make?
Try this with an empty sandal first. Take one picture under a ceiling light with the curtains closed. Then switch off the ceiling light, open the curtains and take the same picture. Keep the sandal, phone position and crop as close as possible. Comparing the same buckle makes changes in shadow easier to see.
Look at the edge of the shadow under the strap. A small overhead light tends to give it a sharper edge. A large window with indirect light can spread that edge out and reveal more of the leather texture. If one side still looks too dark, hold a sheet of white card just outside the frame on that side to reflect some light back.
Eight feet pic poses and angles to try
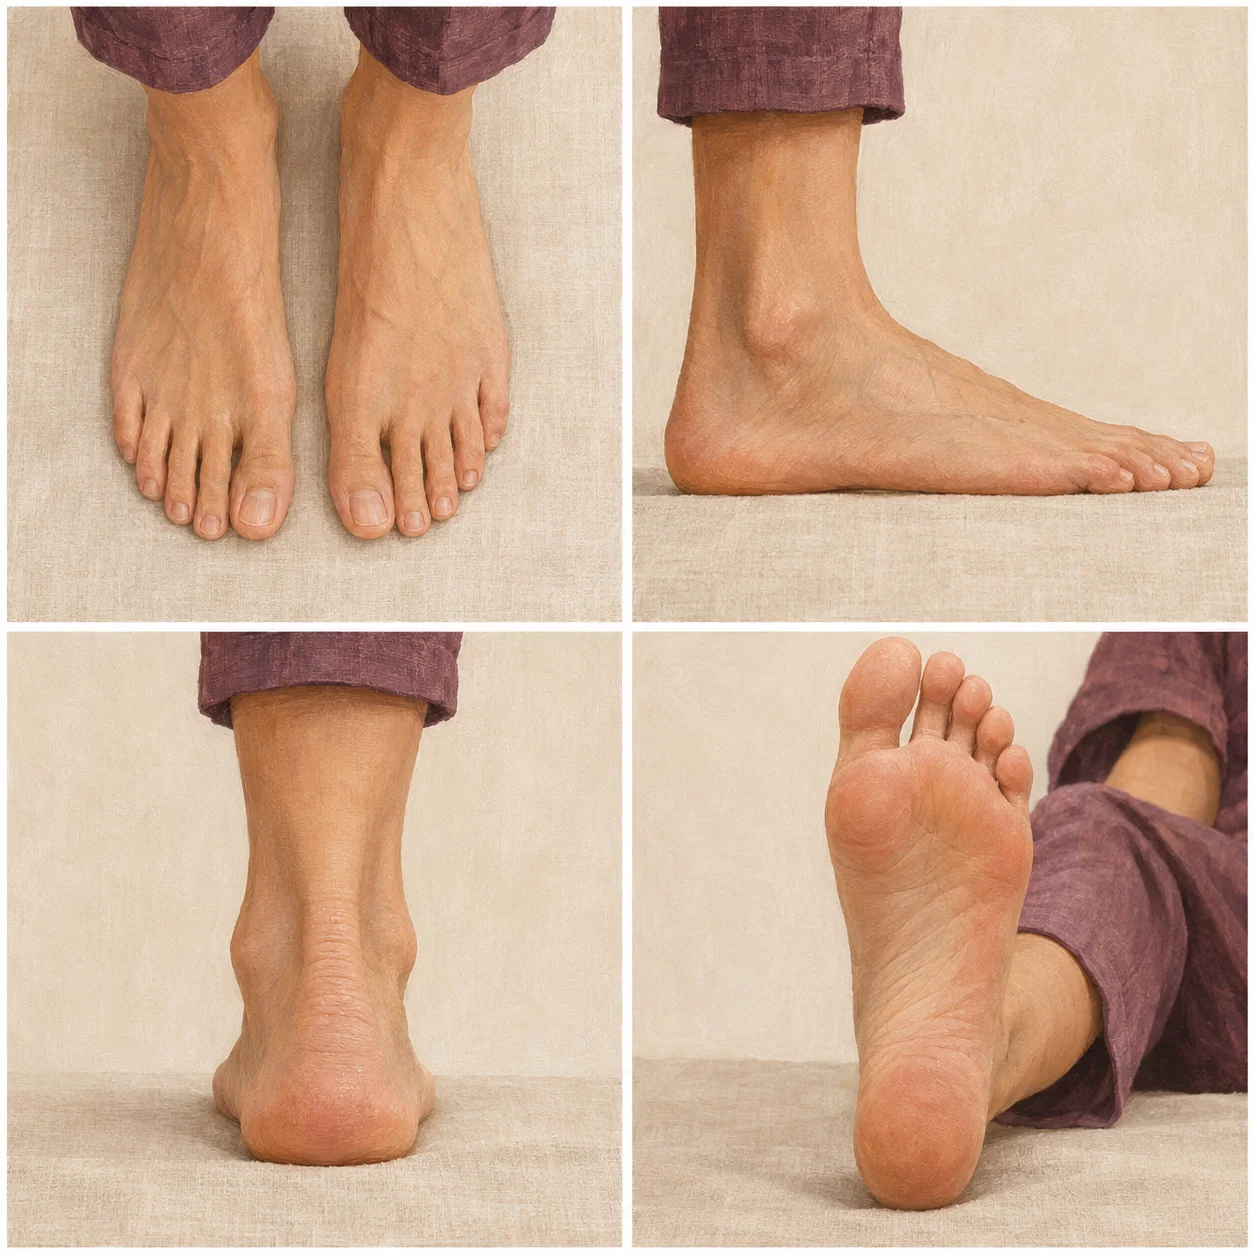
The first four shots use bare feet and a simple background. Read each group of illustrations from left to right, starting at the top.
Overhead pair. Sit with both feet flat and hold the phone level above them. Use a floorboard or the edge of the cloth to line up the frame. Leave space in front of the toes.
Side profile. Put the phone near ankle height, facing one foot from the side. If the toes look oversized, move the phone back and crop a little afterward.
Heel from behind. Set the phone low, behind the heel, then use the timer. Look for a clear outline where the heel meets the background. A dark trouser hem can help if the ankle blends into a pale wall.
Seated sole view. Stay seated and raise one foot just enough to face the camera comfortably. Frame the whole outline from heel to toes. Move the phone to fit the angle rather than twisting your ankle.
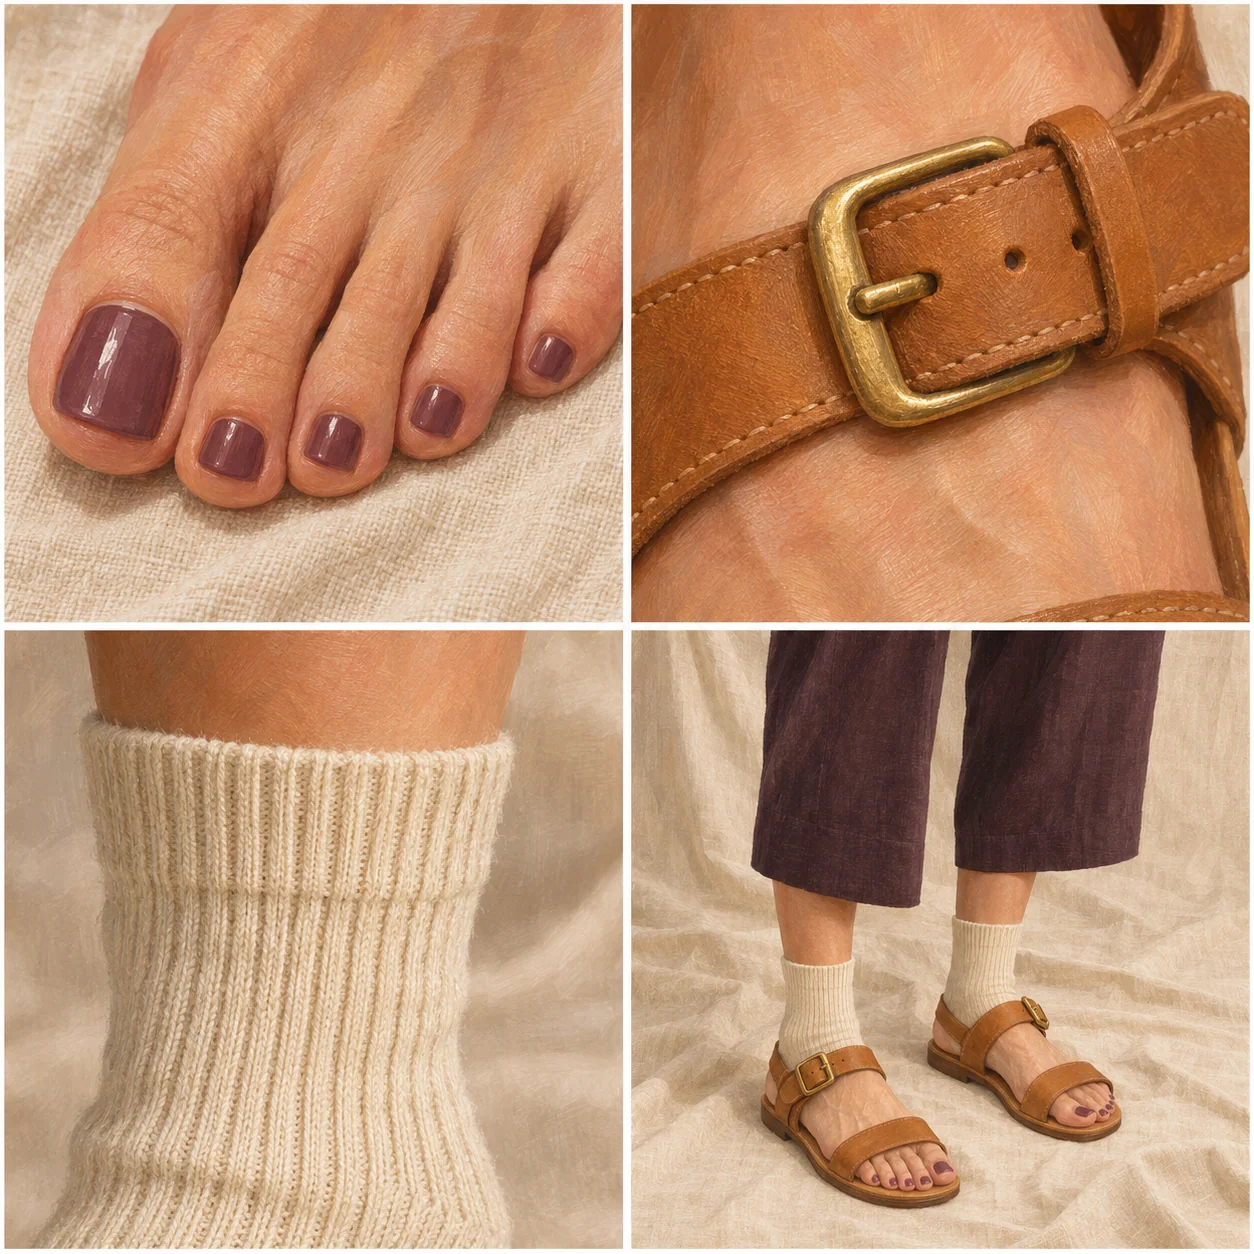
For the next four shots, add a sandal or a textured sock. Each gives the camera a different detail to focus on.
Pedicure detail. Frame the polish from slightly above and tap the nearest nail to focus. If focus keeps jumping, pull the phone back until the polish edge looks sharp.
Sandal strap close-up. Fasten the sandal and photograph the buckle where it crosses the foot. Turn slightly toward the window until the leather grain shows without a bright reflection covering the metal.
Sock texture. Pull on a ribbed sock and photograph the ankle from the side. Turn the ankle a little so the light falls across the ribs. Zoom in on the saved picture to see whether the individual ridges are clear.
Wider footwear shot. Step back far enough to show both sandals and a little floor. This gives the viewer the whole look before they see a tight shot of the buckle. Check the corners for clutter.
How to choose five photos for your first set
For a set described as “sandal details and a plum pedicure,” start with the wide footwear shot as the cover. Then choose the overhead pair, the side profile, the pedicure close-up and the buckle. Arranged in that order, the photos move from the whole look to the smallest detail.
Suppose you have two buckle shots and the only difference is a slightly tighter crop. Keep the one with the sharper stitching. Save the sock photo for a separate listing because the buyer chose a sandal set. Once your five images are selected, use the guide to pricing your first photo set to write the offer.
What to check before uploading
Read the cover at thumbnail size. Open your gallery grid. Can you still tell what the set shows without opening the first image?
Inspect the actual export. Zoom in once to check focus, color and crop. Keep the originals so you can try a different crop later.
Look beyond the subject. Check buckles and mirrors for reflections. Crop out mail, name badges and faces in the background. Inspect the file’s location details and disable camera location tagging for future shoots if needed.
Match the listing to the files. If the description promises five distinct photos, count five and say whether the preview image is included. That gives the buyer a clear idea of what they are choosing.
Ready to sell your first set of feet pics? Choose your photos, set a price and tell buyers what is included.
Ready to list your first set?
Follow our step-by-step guide to set up an anonymous seller profile and price your first set.
This article is for general information only and may contain affiliate links. If you sign up through them, SellFeetPictures may earn a commission at no extra cost to you. Read our affiliate disclaimer.